How to Install a Room Thermostat: A Step-by-Step Guide
Installing a room thermostat is a great way to take control of your home’s heating and cooling systems, ensuring energy efficiency and optimal comfort. Whether you’re replacing an old unit or installing a new one, the process can be straightforward with the right tools and guidance. In this blog, we’ll walk you through the steps, and we’ll also introduce you to a reliable option: the thermostat products from riseem.
1. Gather Your Tools and Materials
Before you start, make sure you have all the necessary items. Here’s what you’ll need:
- A new thermostat (we recommend checking out riseem’s range for quality options)
- Screwdriver set (both flathead and Phillips)
- User manual for your specific thermostat model
2. Turn Off the Power
Safety first! Locate your home’s circuit breaker box and turn off the power to the heating or cooling system connected to the thermostat. Use a voltage tester to double-check that there’s no electricity running to the wires—this step is crucial to avoid shocks.
3. Remove the Old Thermostat
- Start by removing the faceplate of the old thermostat. This is usually done by gently prying it off with a screwdriver or by unsnapping it.
- Once the faceplate is off, you’ll see the mounting screws holding the base to the wall. Remove these screws and carefully pull the base away from the wall.
- Take note of how the wires are connected to the old thermostat. You can take a photo with your phone as a reference—this will make connecting the new thermostat much easier.
- Disconnect the wires from the old unit. If the wires are labeled (like R, C, W, Y), that’s helpful, but if not, your photo will be your guide.
4. Prepare the Wires
- Trim the ends of the wires if they look frayed, using wire strippers to expose about 1/2 inch of bare wire.
- If your new thermostat requires a common wire (C-wire) and your old setup doesn’t have one, you may need to run a new wire or check if your system can support it. Refer to the user manual for details.
5. Mount the New Thermostat Base
- Position the base of the new thermostat on the wall, ensuring it’s level. Mark the screw holes with a pencil.
- Drill pilot holes if necessary, then secure the base to the wall using the provided screws.
6. Connect the Wires
- Match the wires to the corresponding terminals on the new thermostat base, using your photo or the labels as a guide. Common terminals include R (power), W (heat), Y (cool), and G (fan).
- Tighten the terminal screws to hold the wires in place, and tuck any excess wire back into the wall.
7. Attach the Thermostat Faceplate
- Line up the faceplate with the base and snap or screw it into place. Make sure it fits securely.
8. Restore Power and Test
- Turn the power back on at the circuit breaker.
- Follow the setup instructions in the user manual to program your new thermostat. Test the heating and cooling functions to ensure everything works correctly.
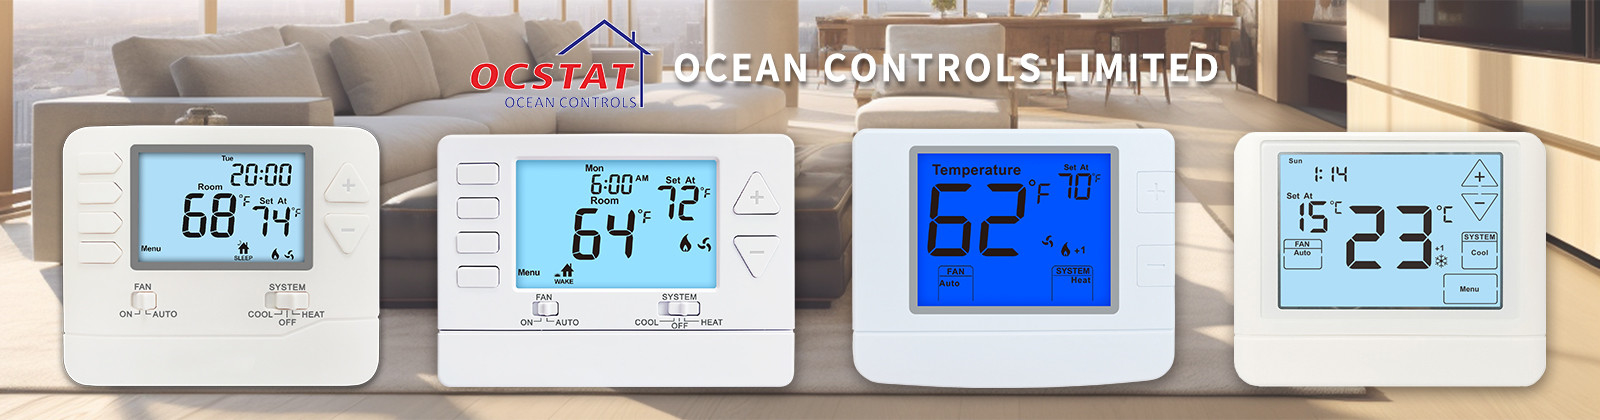
Why Choose riseem Thermostats?
riseem offers a range of high-quality
thermostat models designed for energy efficiency and easy use. Whether you need a basic programmable model or a smart
thermostat that connects to your phone, riseem has options to suit your needs. Visit
www.riseem.cn to explore their products and find the perfect
thermostat for your home.
Installing a room thermostat is a DIY project that can make a big difference in your home’s comfort and energy bills. With these steps and a reliable thermostat from riseem, you’ll be enjoying precise temperature control in no time!